Terrain editor
Leveleditor
Custom Mod Setup
Understanding Heightmaps
Build the Bunker - 3ds Max
Build the Bunker - Maya
Import the Bunker
Build the Car - Maya
Import the Car
Create new team - Maya
Create new team - 3ds Max
Create new kits - Maya and Max
Mapping - General
Setup FH2/bf2editor
FH2 mapping guide
FH2 mapping standards
Mapping - Texturing
Texture system in bf2
Terragen skies
Terragen texturing
Mapping - Heightmaps
World Machine
Geocontrol and bf2hmt
Mapping - Lightmapping
Simple lightmap setup
Mapping - Downloads
Sky settings bf2
Water settings bf2
Lowdetailtextures/settings bf2
3D modelling/texturing
Skinning the Daimler Dingo
Coding
Create detail- and colortextures in Terragen
By Fenring
This tutorial presumes that you have read Lawrence Browns basic tutorials to get a grip of the bf2editor and the bf2 texture system tutorial is also higly recomended.
Remember the latest version of the bf2editor is 0.1.237.0 this will be shown on top of your output window when you start the editor. The official download is wrong download the latest version at fileplanet . To use with windows xp x64 right click on install file - properties - compability - windows xp. For Windows Vista the same but "windows xp sp2" instead.
Many mappers used to Editor42 becomes depressed when learning about the tedious texturing system in the bf2editor, they may learn about bf2_tpaint but think it lacks options. But fear not! With Terragen you can create textures with at least the same quality as in editor42 and utilizing bf2's more advanced engine and texturing system.
Credits: TemplarGFX for the first (and only?) Terragen tutorial for bf2 and all the nice blokes at bfeditor.org for making modding bf2 less painfull.
Tools/files needed:
Terragen
bf2tpaint
Terragen lightsettings for rendering bf2 textures
Photoshop .act file for a maximum RGB value of 255
Photoshop
The terrain created in our World Machine tutorial
Links/further reading:
Official planetside guide to surface maps/texturing in Terragen (recomended)
Index:
Creating the color- and detailmaps in Terragen
Edit the files with Photoshop
bf2Tpaint to split the textures
Generate the lowdetailmaps in bf2editor
Bonus: bat script to automate bf2_tsplit
Creating the color- and detailmaps in Terragen
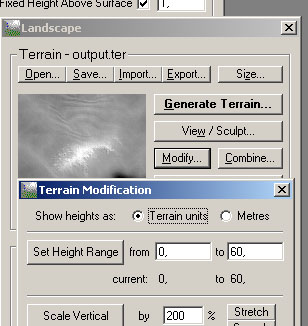
We start of with a rush and startup Terragen, we will begin with opening the terrain we created in world machine.
 |
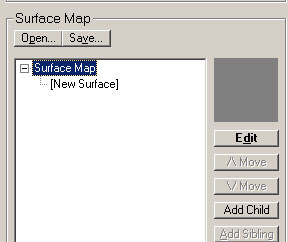 |
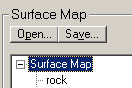
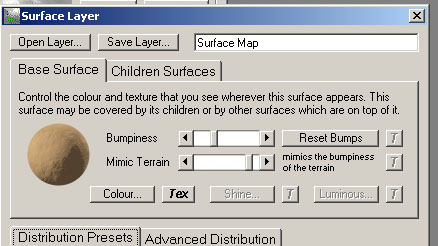
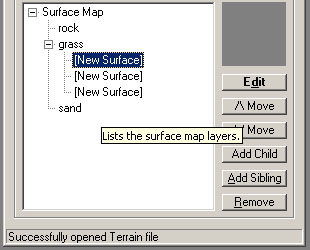
| We change the height to 60 so and that will also be the height of the terrain in the bf2editor. This is important otherwise you will texture for a height that doesn't match your map. | We go down to the surface maps, we create a new one under the base surface map with "Add child". |
 |
 |
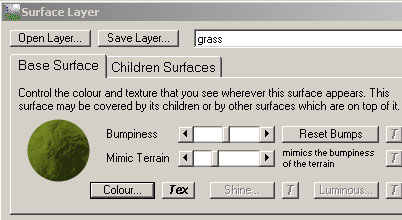
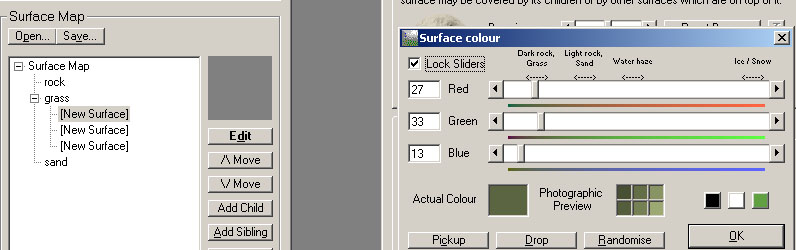
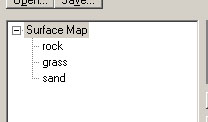
| Double click on the child and rename it to grass. | Create three childs to "Surface map". We follow DICE standard for layers and go with 1. rock 2. grass 3. sand. My plan is to use lowdetailtype 2 for rock 1 for grass and 0 for sand. |
  |
 |
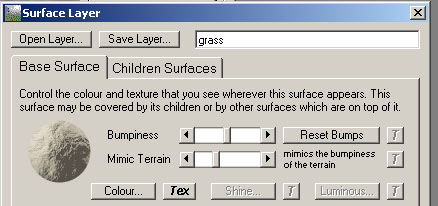
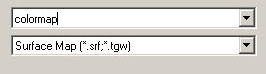
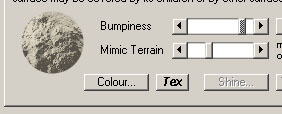
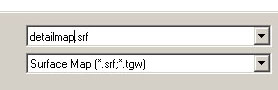
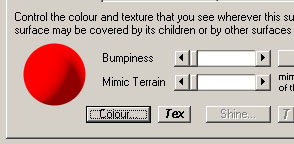
| Now we want to save, by clicking on "Surface map" we will save it and all it's child layers, be careful to always select the base "Surface Map" otherwise all your layers might not get saved. We save this as colormap.srf Make sure to save this cause you can later use the same texture for other terrains. | For our "Sand" child we want to change the bumpiness since its a lowdetail 0 it must be pretty smooth. |
 |
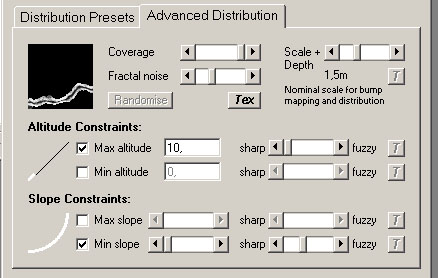 |
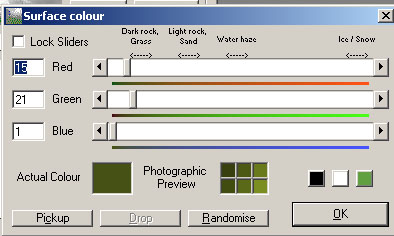
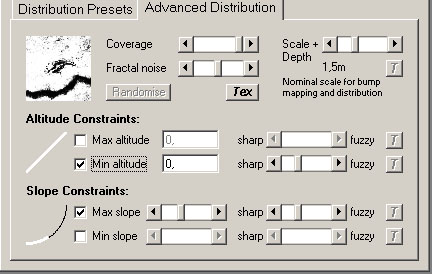
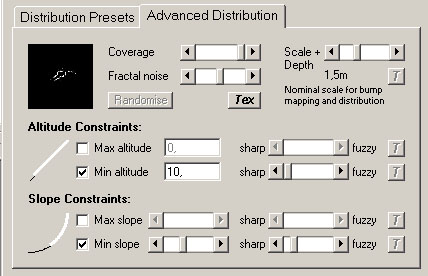
| We change the color of sand to something more apropriate. Important! You can't copy straight RGB values into Terragen from say a photo. You must use the colorindicators on the top and use only a photograph for reference. Make the colors slightly darker if you plan to have a bright day map without clouds. Since its lowdetail 0 we use only one color for this child. | Next we change our distribution settings for "Sand", we want it only to be our kinda beach for our river and we set a max altitude and a minimum slope. Fractal noise should go down to make transitions smoother and somewhat fuzzy distribution on slope. Already here you can see the enormous potential compared to tpaint. |
 |
 |
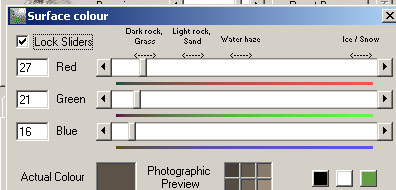
| Nextup we fix a nice green color for our grass child, distribution should be slightly bumby since we are using lowdetailtype 1 for this layer. | This is the colorsettings i used, note again that diffrent common materials are hinted at the top. |
 |
  |
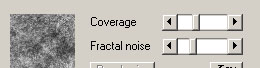
| Here is the distribution settings i used for grass, we dont want it to into the river, and we dont want it to up into the mountains. Coverage should be complete since we already have limited the distribution with fuzzines and lower fractal noise. | For the Rock layer we will want a darker color and higher bumbiness since this is a lowdetailtype 2. |
 |
 |
| To make the rock good, we will want it to be limited in height, so that it won't ruin our beach, and minimum slope value so that it sticks to the slopes that our sand and grass wont cover. | The "Surface Map" should in our case be identical to the sand layer. No distribution changes are possible with this layer. |
  |
|
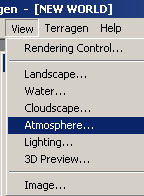
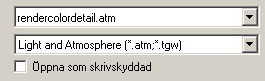
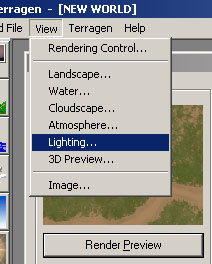
| We are now ready to test the distribution settings with a render of our terrain, first we must turn of effects, and correcting the light so that it will match what we see in bf2. Since bf2 has its own light,sky and fog we must remove this to get clean textures for bf2 to work with. We select atmosphere in the View menu and click load settings, we load the file that comes with this tutorial renderercolordetail.atm. | |
  |
 |
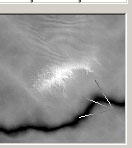
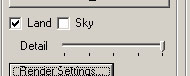
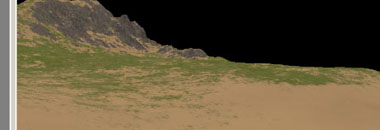
| The sky is not necessary for our renders so we deselect it, we also must turn the detail to its highest setting. Place the camera gizmo to a place where you want to preview our texture. | We now klick on render and this is what we got so far, not bad! The Editor42 fanatics can see the light in the tunnel! ;-) |
 |
|
| We will want some variety in our grass so go on and add 3 childs to the grass layer and we change the color for each of them sligtly. use the lock sliders selection to change the color and keep its original tone. Also try the pickup and drop buttons, pickup stores the current color in the terragen clipboard and drop pastes the color in the clipboard. | |
 |
 |
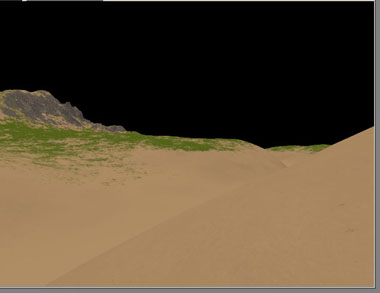
| For the childs to our grass layer its important to lower the coverage and fractal noise to let the original texture shine trough. | We render with our new "grass childs" and we get a bit more variety to our grass layer! |
 |
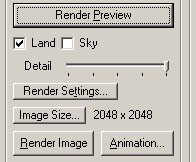 |
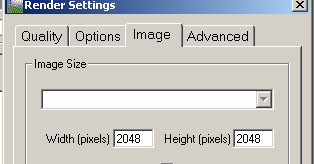
| We are now ready for our final render of the colormap, click image size, we change the height and width to our map size*4 that means 512*4=2048 (Or for a 1024 map 4096x4096 for example) | And now it should look like this. |
 |
|
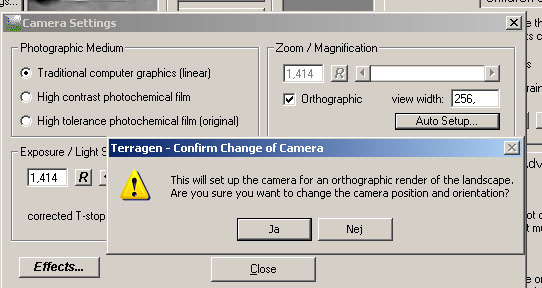
| To get a proper colormap we must render it in birds view, go to camera settings, click traditional computer graphics (for a pure texture) and the select Orthographic and click auto setup, klick yes in the requester that pops up. | |
 |
 |
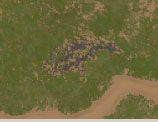
| Click preview, now it should almost look like a minimap. Now we're really getting somewhere. | Now we click on render, it may take a while but when its done save it somewhere maybe as c:\colormap.bmp. |
 |
 |
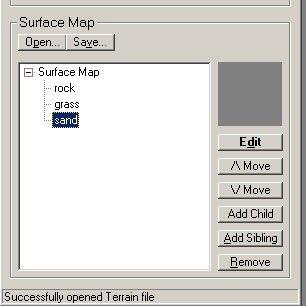
| It's time to get on to the detailmaps, this is much easier than the colormaps so hold on. First save your colormap.srf if you already haven't done that. Now we save the colormap as detailmap.srf. | We remove the childs from the grass layer. |
 |
 |
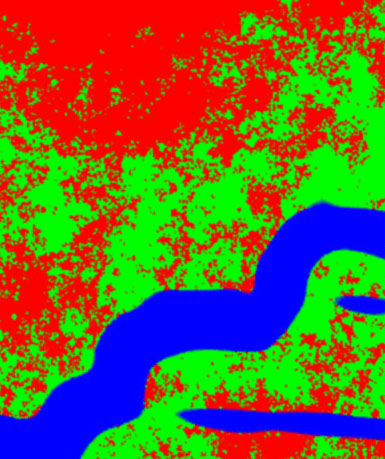
| Our surface map should now only consist of 3 layers without childs. | Set all layers including the "Surface map" to Bumbiness zero and mimic terrain zero. Now change the colors as follows: Surface map: Red (255.0.0) Rock: Blue (0.0.255) Grass: Green (0.255.0) Sand: Red (255.0.0). This must be a pure color of a value of 255 othervise it wont work. |
 |
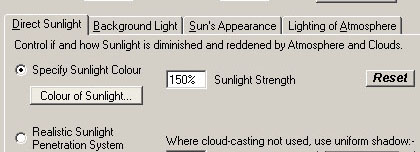 |
| We must change the lightning for the detailmaps to get 100% true colors. | Change from 100 sunlight strenght to 150% sunlight strenght. |
 |
  |
| Click on "Render Settings", deselect Fast Sub-Pixel smoothing and turn down atmosphere and cloud shading to lowest. Otherwise this could mess things up when we convert the detailmaps to indexed palette. | Our preview render should now look like this. If everything is ok make your final render and save as c:\detailmap.bmp, make sure you dont save over your colormap by mistake. |
And now we are done in Terragen, the hard part is over.
 |
  |
||||
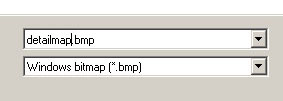
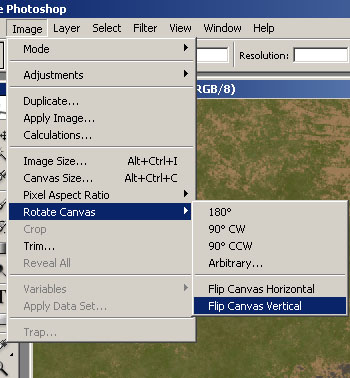
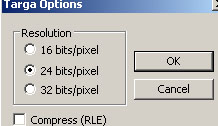
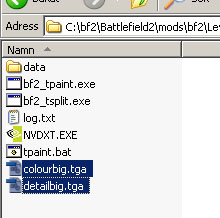
| Open colormap.bmp in Photoshop and do a vertical canvas flip, this is because the bf2editor reads all files upside down and bf2_tpaint doesnt do it for us when we split it. | Save it as tga in your tpaint directory in your map directory, example mylevel/bf2_tpaint/ it must be called "colourbig.tga" and in 24bit fromat without compression. | ||||
 |
|||||
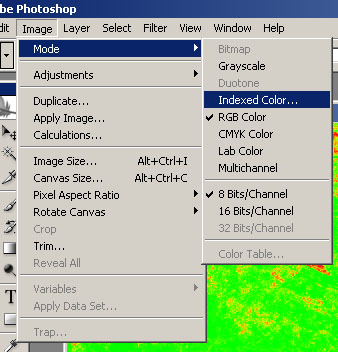
Open the detailmap.bmp and select indexed color. |
|||||
 |
|||||
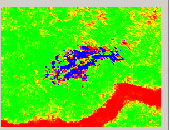
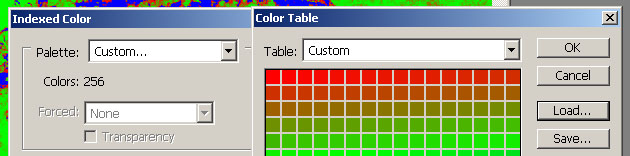
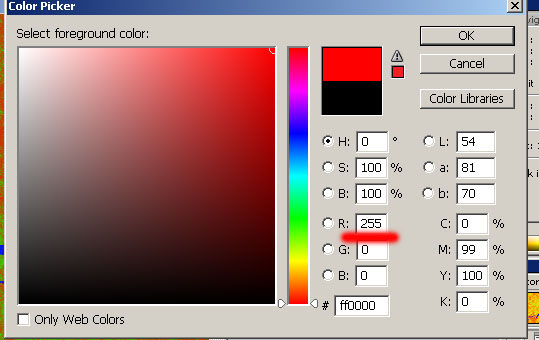
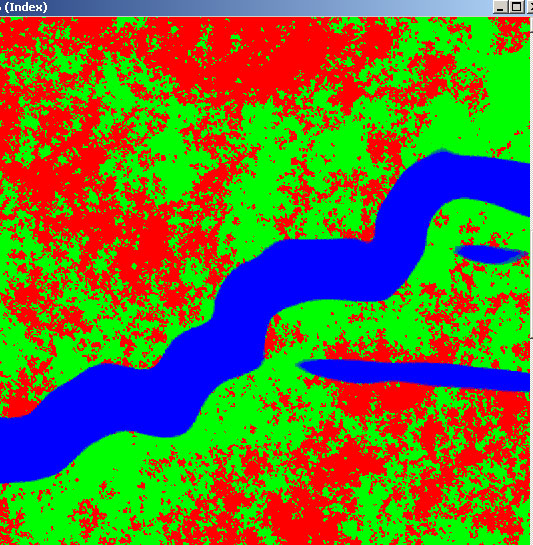
Load the custom .act file that was provided with the tutorial, this makes sure that no color in the detailmap goes above 255 in total value, if you don't perform this step your detailtextures will be to bright or to dark. BIG thanks to [DICE]o2car for the information below: Use the fillbucket with abosolute green, blue or blue depending which detaillayer youre cleaning, contigonous deselected, anti alias on and a low tolerance value (but not 1). Test your way forward until you find a good value and fill with the bucket 2-3 times or until it looks good. Do this in indexed mode.
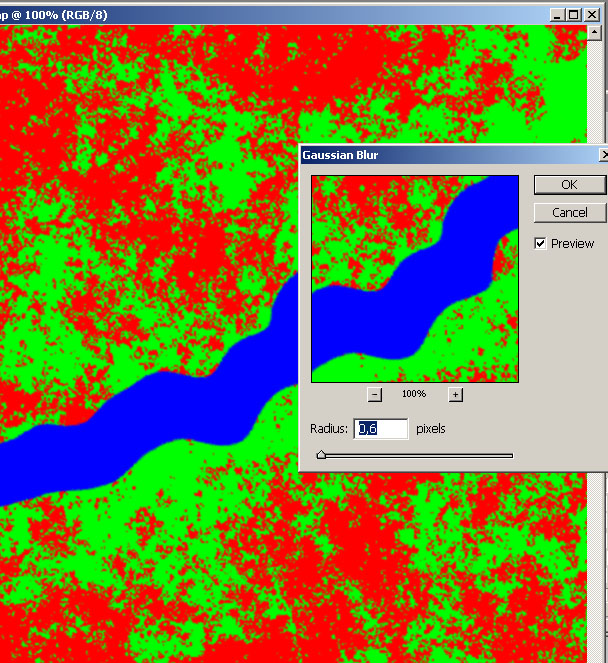
Should look something like this now with almost only pure colors. Now we switch to RGB mode to create a blur to create some transition between the layers. Now switch back to indexed mode.
|
|||||
 |
|
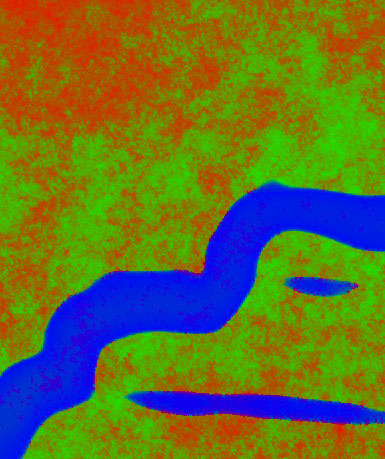
||||
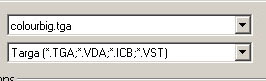
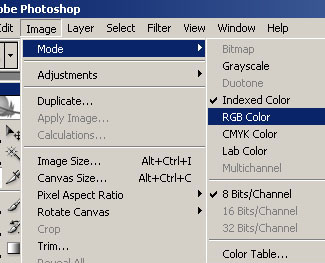
| Now switch back to RGB color mode so that we can save it as a tga. | Save in your my_level/bf2_tpaint/ directory as "detailbig.tga". 24bit uncompressed tga. | ||||
Done in Photoshop!
bf2_tpaint to split the textures
Its time to use bf2_tpaint to split our textures so that bf2editor can read them.
 |
 |
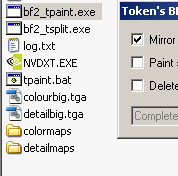
| First we must write protect our newly created tga files so that bf2_tpaint doesnt erase them with his own textures. Apply write proctection to both of them by right clicking and "Properties" check write protection | Make sure you have write protected both colourbig.tga and detailbig.tga and run bf2_tpaint with these settings. |
 |
|
| When tpaint has splitted your textures copy colormaps and detailmaps directories to my_level/editor/ and replace the files already there. |
Only some minor bf2editor remaining now.
Generate the lowdetailmaps in bf2editor
Open your map in terrain editor and add detailtextures for layer 1-3:
Layer 1: detail_rock05 (lowdetailtype 2)
Layer 2: detail_grass05_light (lowdetailtype 1)
Layer 3: detail_sand_soft2 (lowdetailtype 0)
Select defaultlowdetail.dds and generate your lowdetailmaps.
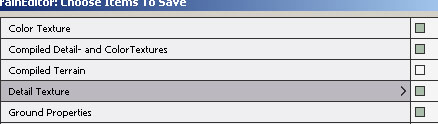
When saving make sure to also check "Color Texture", "Compiled Detail- and ColorTextures" and "Detail Texture" otherwise you wont see anything when you load your map. The editor will now compress our textures heavily to be used in the game.
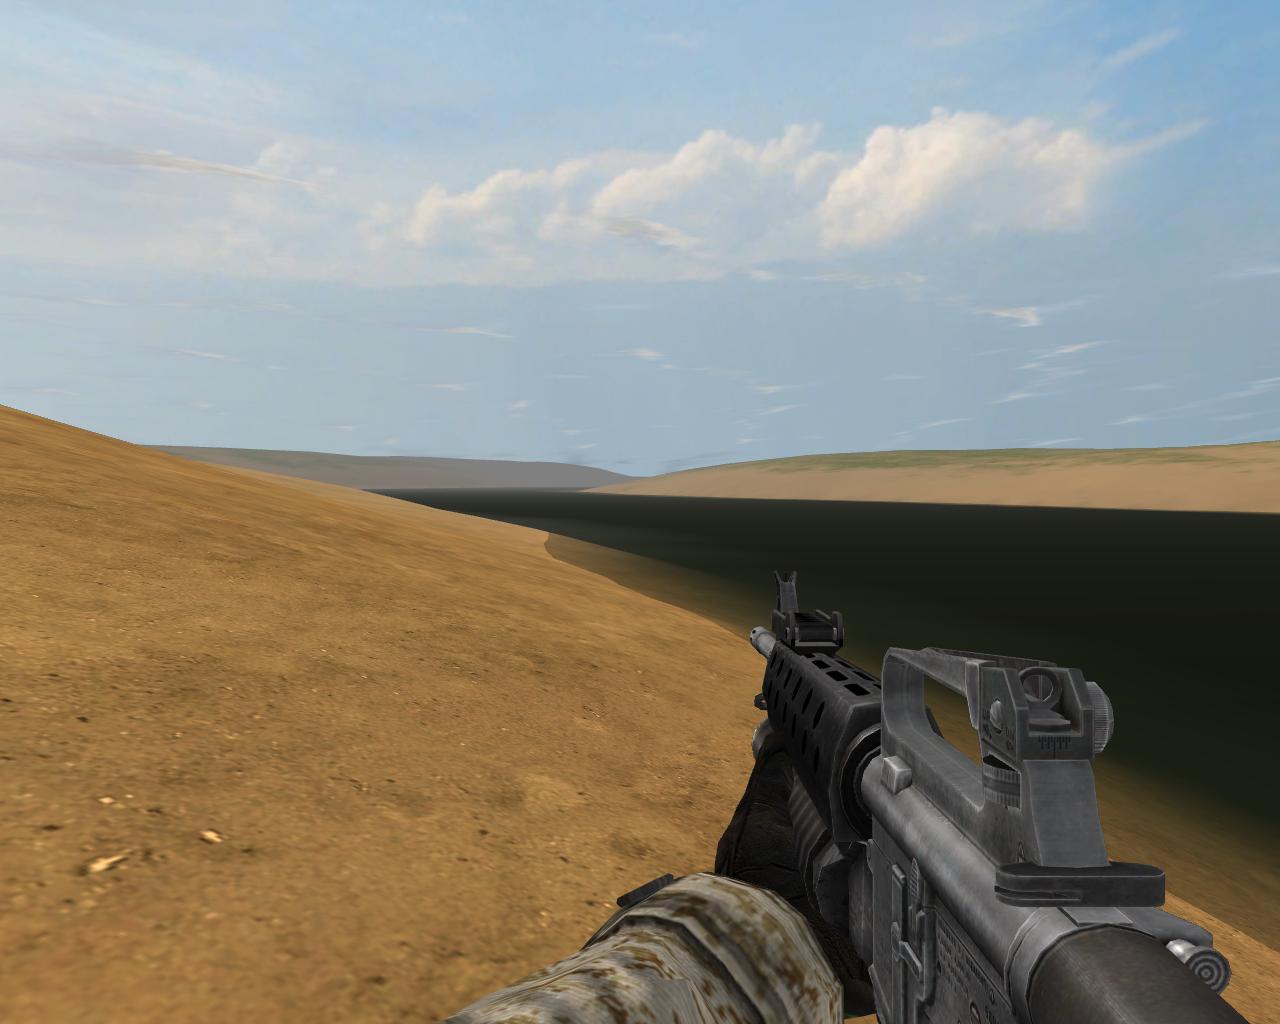
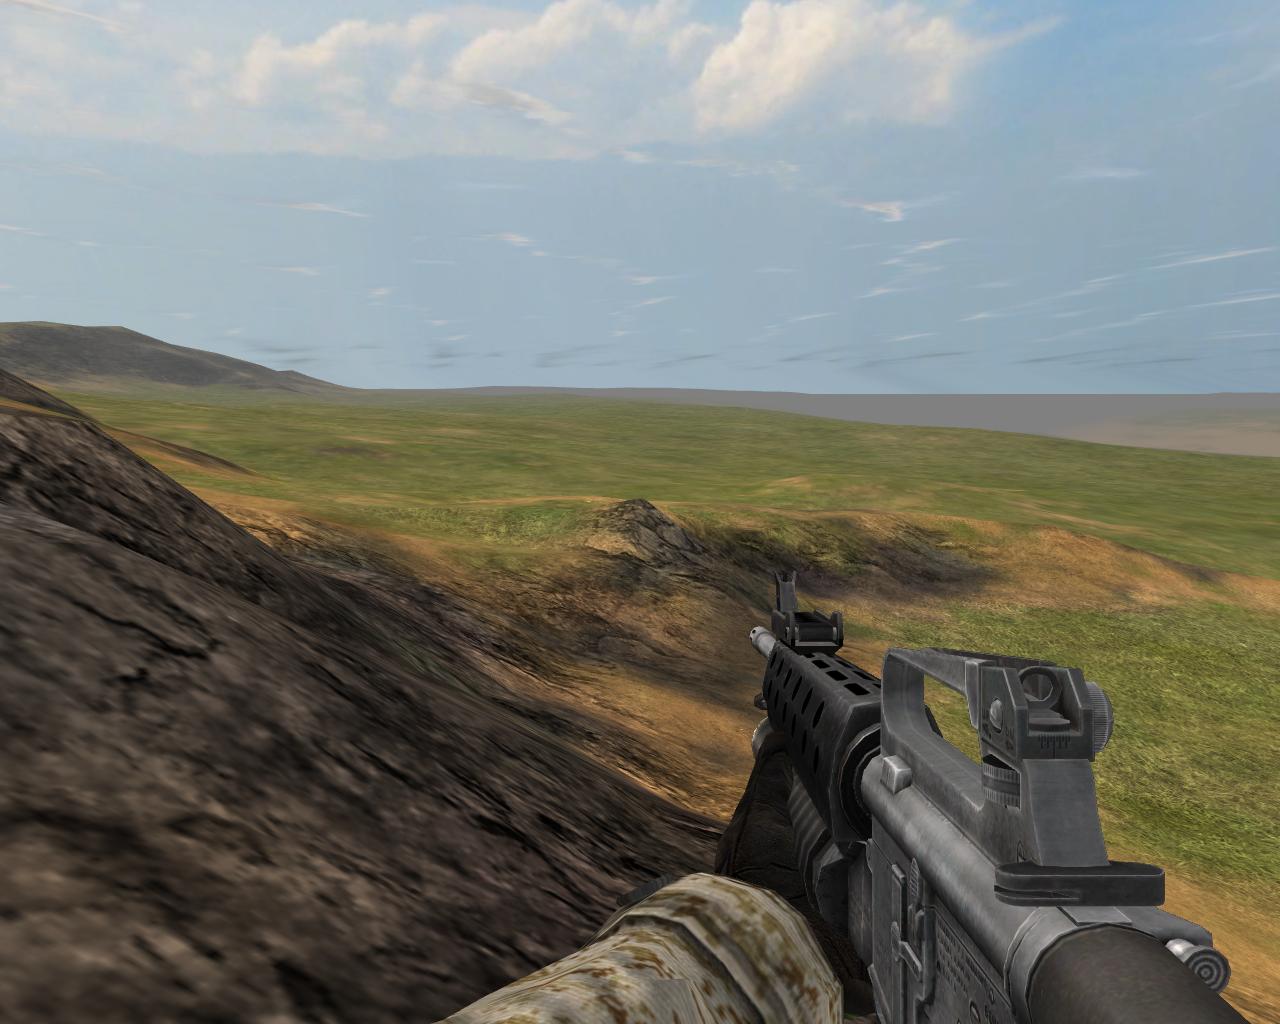
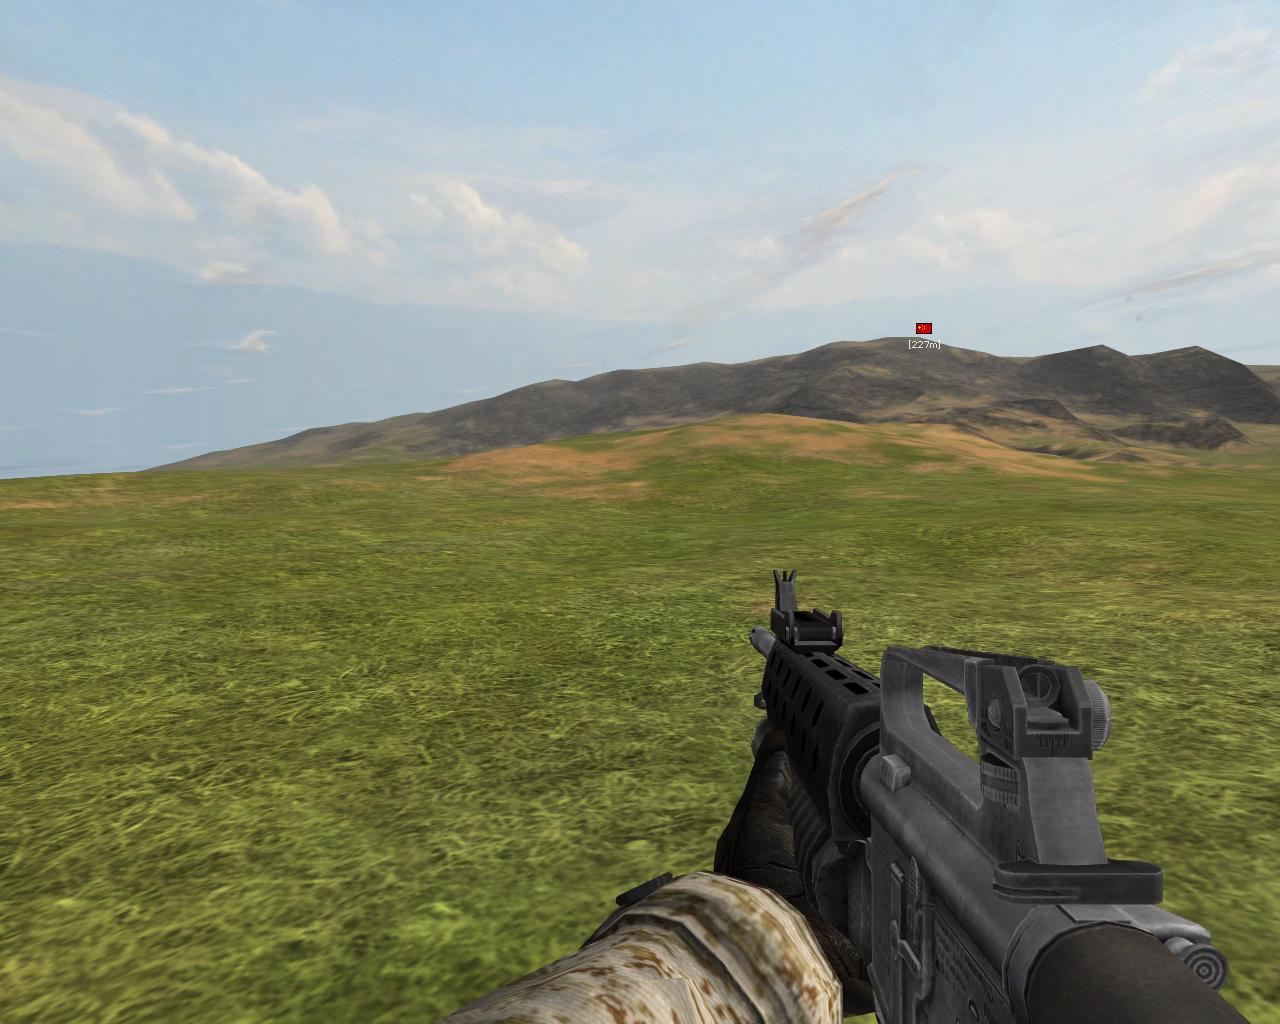
And ingame screens, proably we should have used more fuzzines on the grass texture to even it out bettter against the sand, but after all this wasnt meant to be eye candy but just to show you in a simple way what terragen is capable of. And remember to check out the guide to surface mapping from the makers of terragen and the golden rule: practice! When you master Terragen and World Machine togheter theres is probably nothing you cannot do in terms of terrain. And if youre dissatisfied with something in the terrain just make small adjusmensts in world machine or terragen and make a new render. Your work is never threatned by the buggy bf2 editor and you can share solutions for terrain and texturing with other mappers in small efficient files.
 |
 |
 |
Download my completed surface maps:
colormap.srf
detailmap.srf
Hope you learned something new/valuable today.
Fenring
Bonus: bf2_tsplit batch .bat script
You could also automate the process with bf2_tsplit included in bf2_tpaint, this requires that you have installed bf2 in a directory with no spaces like c:\battlefield2, but thats great for modding since we want to acess that a lot. And make sure you know what youre doing i wont take any blame if you screw up some of your other textures because you forgot to setup the script. Create something like tpaint.bat in your bf2_tpaint directory. change my_level to the name of the map youre working on and if youre using bf2, change fh2 to bf2. And of course save your files as detailmap.tga and colormap.tga instead.
CODE
mkdir colormaps
mkdir detailmaps
bf2_tsplit detailmap.tga colormap.tga
xcopy detailmaps c:\bf2\mods\fh2\levels\my_level\editor\detailmaps /y
xcopy colormaps c:\bf2\mods\fh2\levels\my_level\editor\colormaps /y
rmdir colormaps /s /q
rmdir detailmaps /s /q
del ctemp.tga
del dtemp.tga
the frist commands create the appropriate directories, the second runs bf2_tsplit with the right settings, xcopy copies the files to the right directory, make sure this one is the same as your leveldirectory , rmdir removes the temporary files after copy, and finaly del deletes the temporary tga files. No more clicking!