Terrain editor
Leveleditor
Custom Mod Setup
Understanding Heightmaps
Build the Bunker - 3ds Max
Build the Bunker - Maya
Import the Bunker
Build the Car - Maya
Import the Car
Create new team - Maya
Create new team - 3ds Max
Create new kits - Maya and Max
Mapping - General
Setup FH2/bf2editor
FH2 mapping guide
FH2 mapping standards
Mapping - Texturing
Texture system in bf2
Terragen skies
Terragen texturing
Mapping - Heightmaps
World Machine
Geocontrol and bf2hmt
Mapping - Lightmapping
Simple lightmap setup
Mapping - Downloads
Sky settings bf2
Water settings bf2
Lowdetailtextures/settings bf2
3D modelling/texturing
Skinning the Daimler Dingo
Coding
Create your heightmaps in World Machine
By Fenring
Tools needed:
World Machine
Terragen
World Machine manual:
English
Spanish
German
French
Index:
Step 1: Creating the heightmap in World machine
Step 2: Create new level with the right height
Step 3: Export your file with terragen
Step 4: Final check and touches in editor
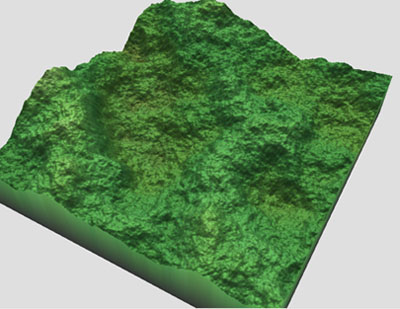
Creating the heightmap in World machine

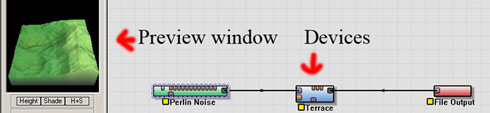
These are the tools we'll be using in this tutorial otherwise it could be a bit to much to stomach at once :-) Feel free to get used to the other buttons.
Important!
Download macros:
River_2
Dunes
- In this tutorial we are also going to use some macros to great effect.
- Install them by copying them to C:\Program Files\World Machine\macros\ (or wherever you installed world machine).
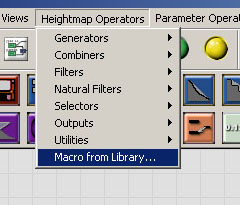
- After the install you can find them in Heightmap Operators->Macro from library.
 |
 |
||||||||
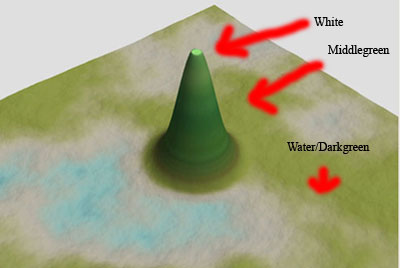
In World Machines default colorscheme (Emerald Isles) the highest points in the heightfield will be White and the lowest watercolored. This may seem unintresting but remember when you sculpt your FH2 maps in World Machine you will have to in imagine how it would look like in game and then thinking, lets say that your level has the height of 80. White would then be 80 and Watercolored would be 0 and middle-green would be like 40. This helps a lot when trying to visualising what it would look like in game. Lets say your white would be mountainranges, middlegreen a hill and darkgreen/water the bottom of the river/lake/ocean if you have water in your map.
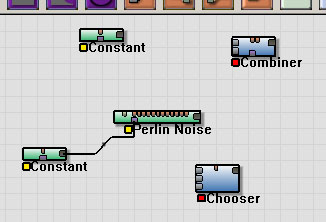
Important! You will always get a small preview of the current device in the small window to the right, this means that you can go backwards in your device setup to view your terrain in a previous stage and return to your final device. Each step forward we get closer to the final heightmap.
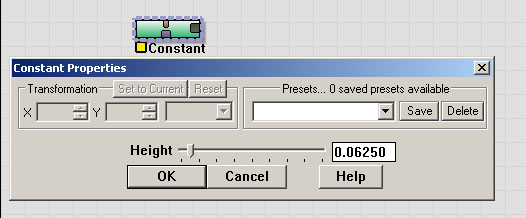
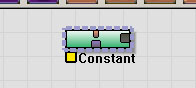
Important! If youre gonna use a sea/water/lake in your level its crucial to start the build with a constant, if we would use a device that generates highs and lows the water would spread to parts of the level where it was not intended.
|
|||||||||

 |
Next we will add a Chooser to our heightmap. Double click on the Chooser and click "Add B to A where indicated by C". |
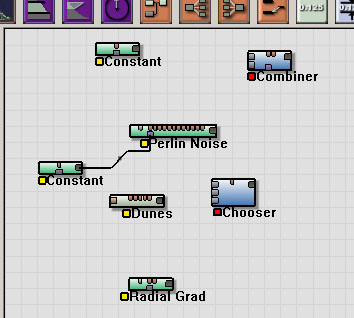 |
 Next we will load the Dunes maco, just add it as a regular device. Use settings Clamp: 0.03125 and Number of dunes: 0.45313 leave everything else as default. Add a radial grad. |
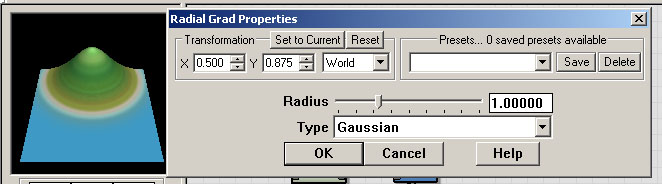
These are the settings i will add for the radial grad. What now will happen is that within the Chooser device the radial grad will operate as a mask and the Dunes will only be added to the area within the mask the perlin noise will therefore be the base of our terrain.
Important! you can change the position of the grad with x and y in this way we can place our radial grad wherever we want on the heightfield. This is also used when moving mountains/hills and using a radial as a mask.
 |
 |
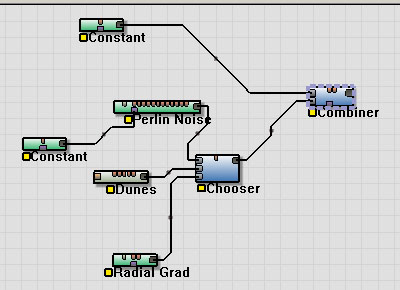
We will now combine all these parts in the way shown. As I said before the Combiner should be set to "Add" and max value/1.00000 otherwise this build will fail |
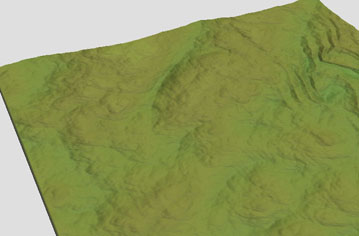
You can now try your Build button and selecting the combiner/last device to se what it looks like. Switch back to edit mode with Ctrl+1. |
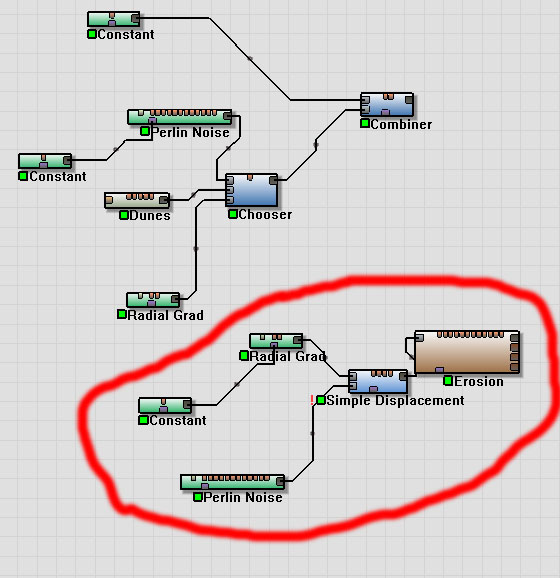 |
Now we will make a mountain.
|
| Connect all parts as in this scheme. | |
 Connect the parts as shown. Then select the File output. Connect the parts as shown. Then select the File output. |
And now for the final touches.
|
 |
Build your world, after this you can doubleclick on the File Output in your devices scheme and save the file. |
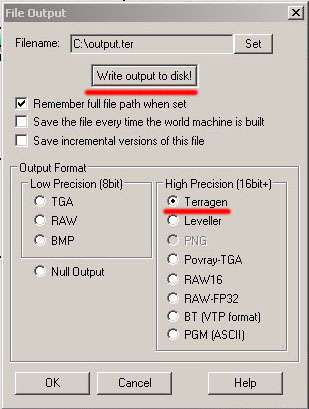
Now we save it as a Terragen file, just doubleklick on the red "File output" device. Dont forget to Click "Write output to disk!" otherwise nothing will be saved Simply clicking "OK" wont do.
Create new level with the right height
Now we go to the bf2editor and create a 512*2 level, just use default settings.
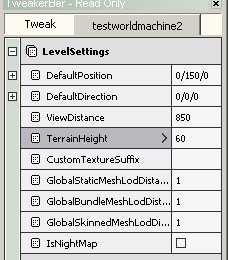
Inside the bf2editor change the height to 60, now save and exit.
Export your file with terragen
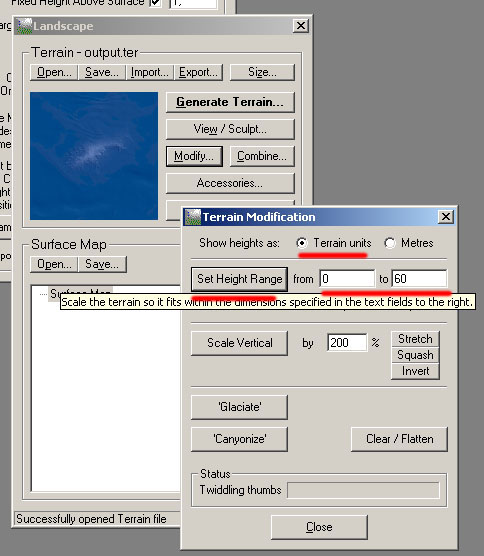
We open our terrain, set the height according to the picture and click "Set Height Range". Note that bf2 uses the same Terrain units as bf2 so 60 in Terragen is 60 in bf2.

Save your new heightmap as a "Raw 16 Bits Intel Byte-Order". Locate your new bf2 level and replace the "HeightmapPrimary.raw" in your leveldirectory.
Final check and touches in editor
Now we just check so that our heightmap is ok in the editor, it is! great now we can start texturing for which there are several options which I explained in my previous tutorial.
Info!You may have to select the terrain sculpting tool select strenght 1 size 1 just so that the editor saves your terrain, otherwise you may get some flat grey terrain instead of what you see in the editor. The same applies for textures if you have made them in some external program like Terragen or bf2_tpaint.
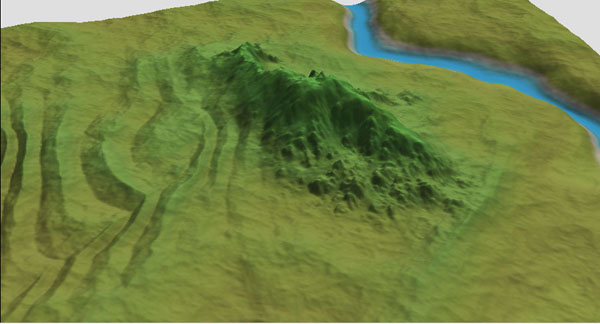
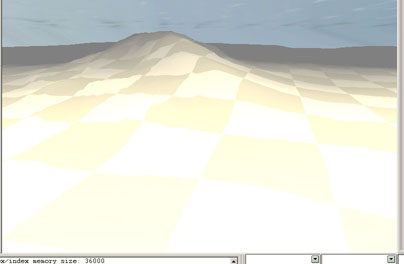
And finaly our heightmap ingame after som fiddling with bf2_tpaint and this tutorial is just one little example of what world machine can do.
 |
 |
 |
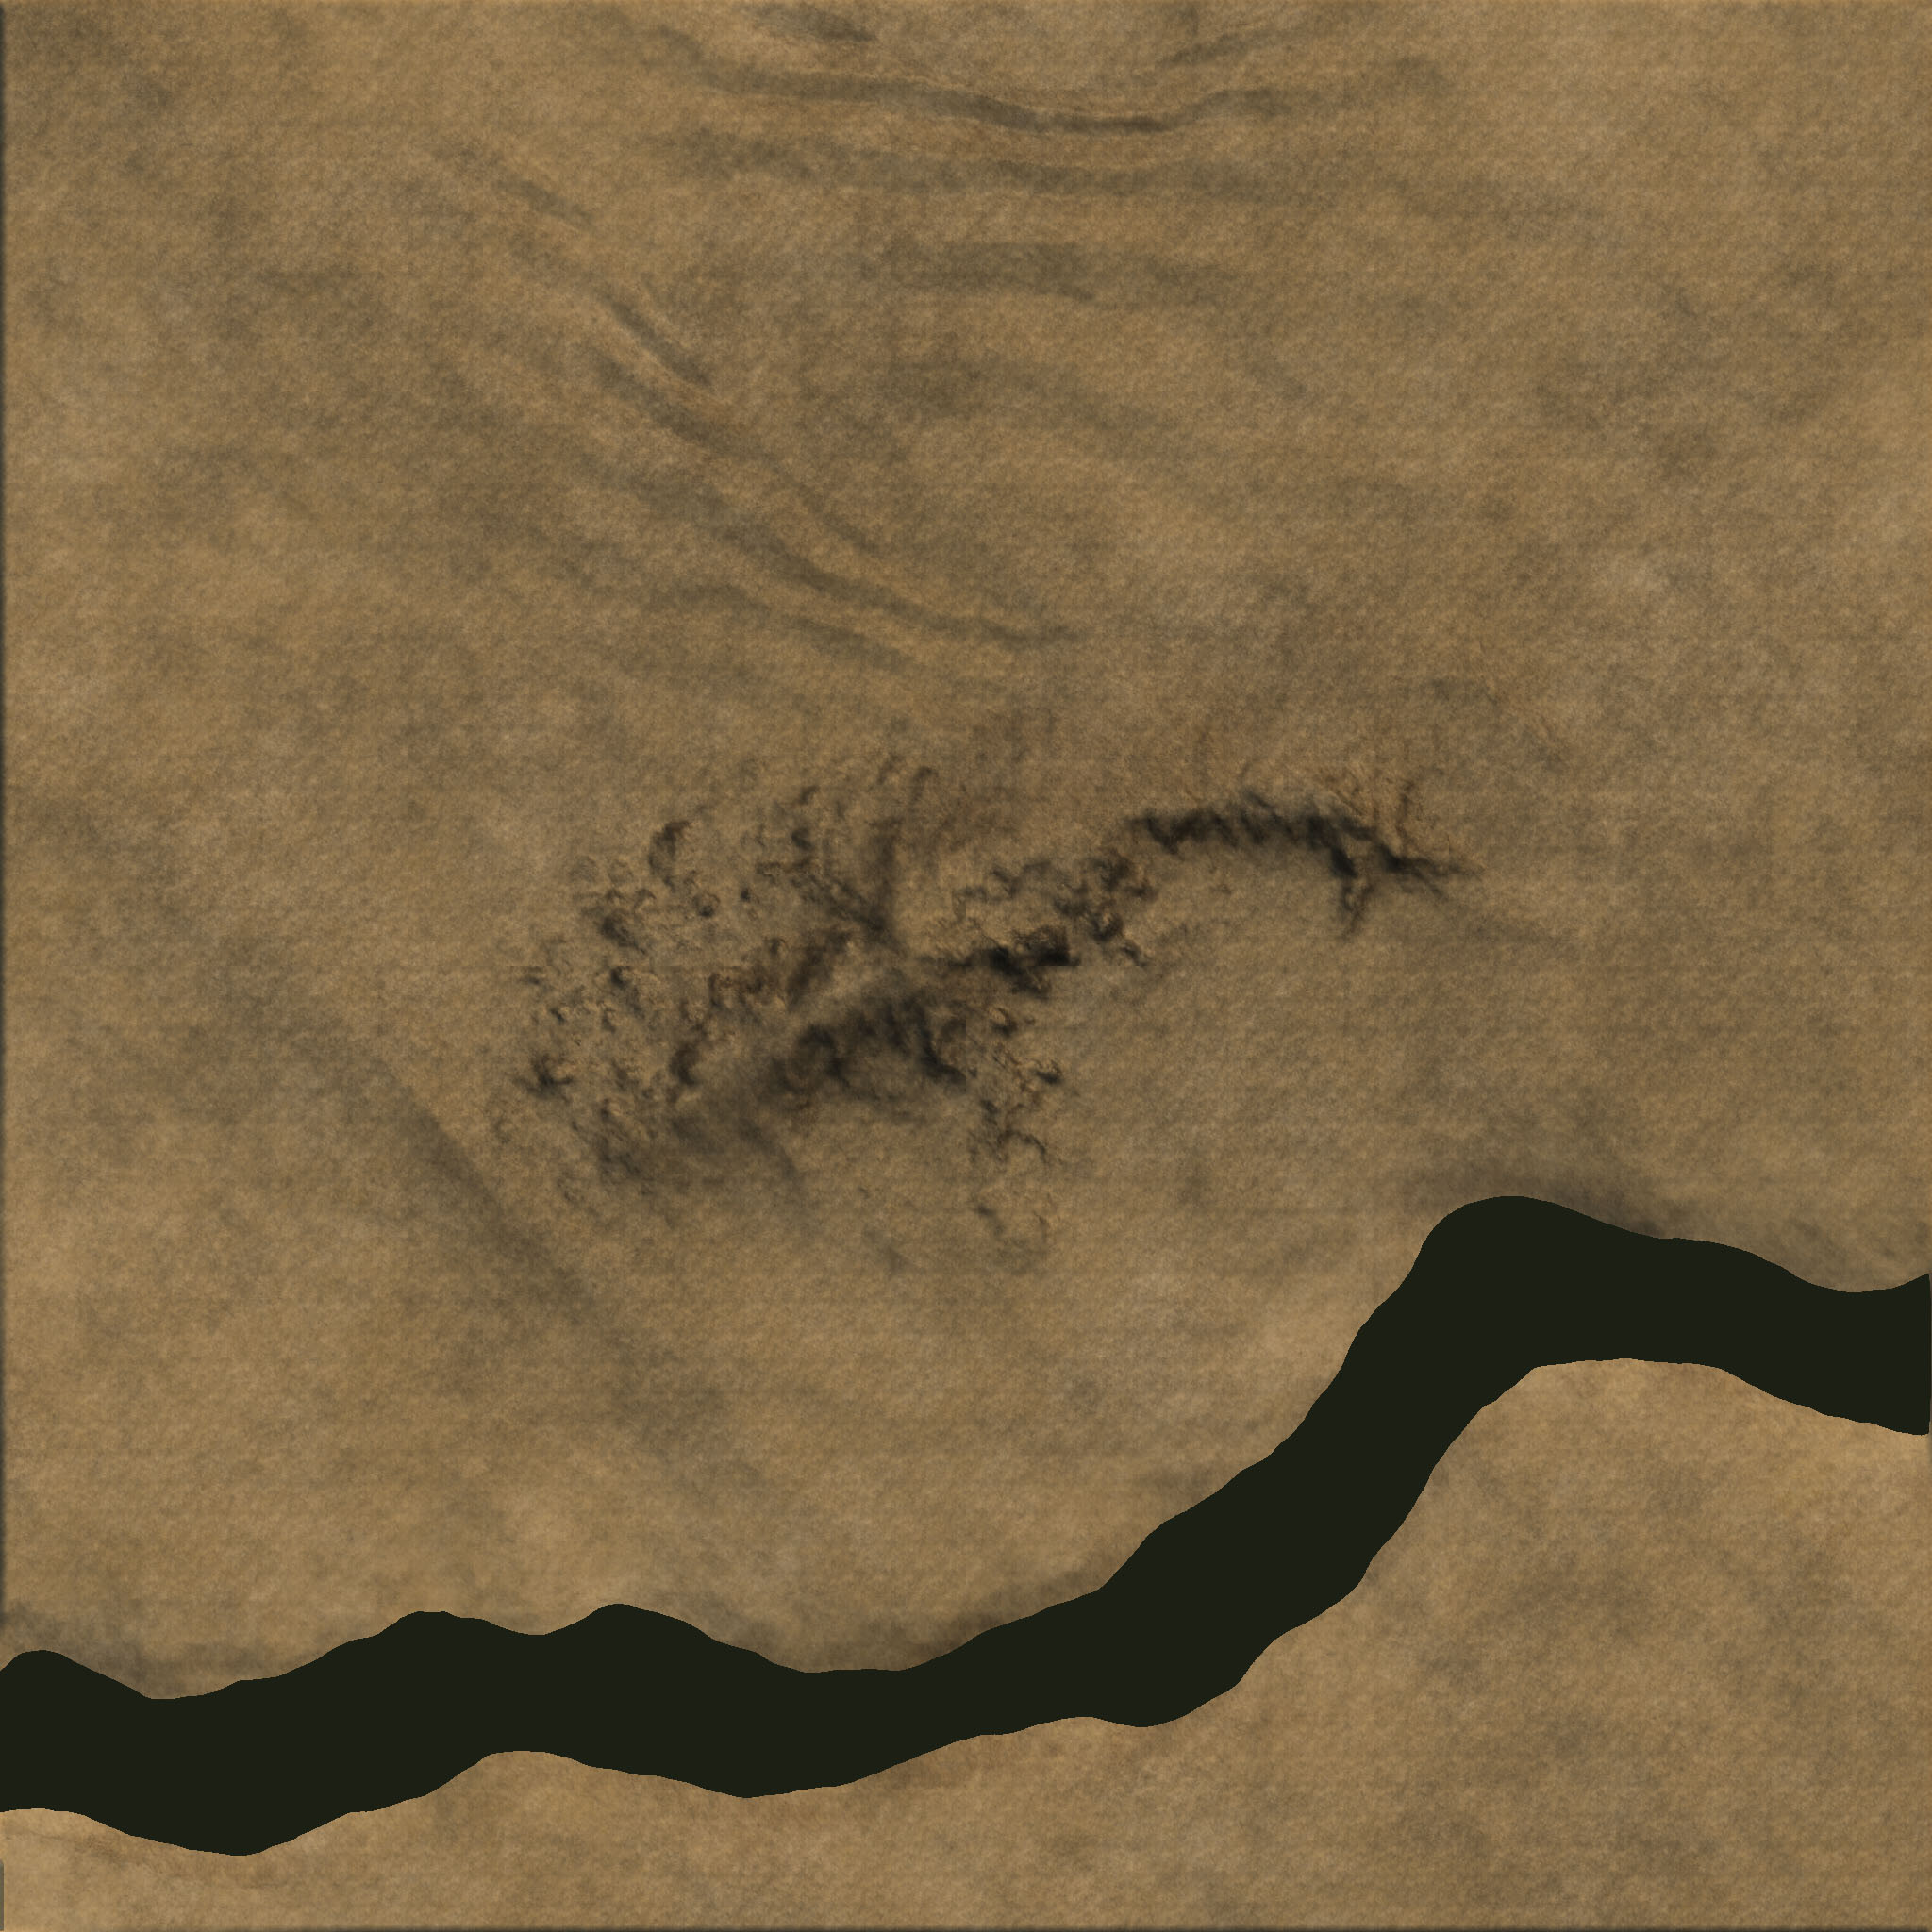 |
| The river | Our mountain | Our lovely dunes | Minimap |
Hope you have learned something valuable, if you get stuck dont hesitate to pm me.
Download my finished world machine file.
Fenring